Food escapades in modernist cuisine

Showing posts with label Short Ribs. Show all posts

Ancho Beer Braised Short Rib Tacos


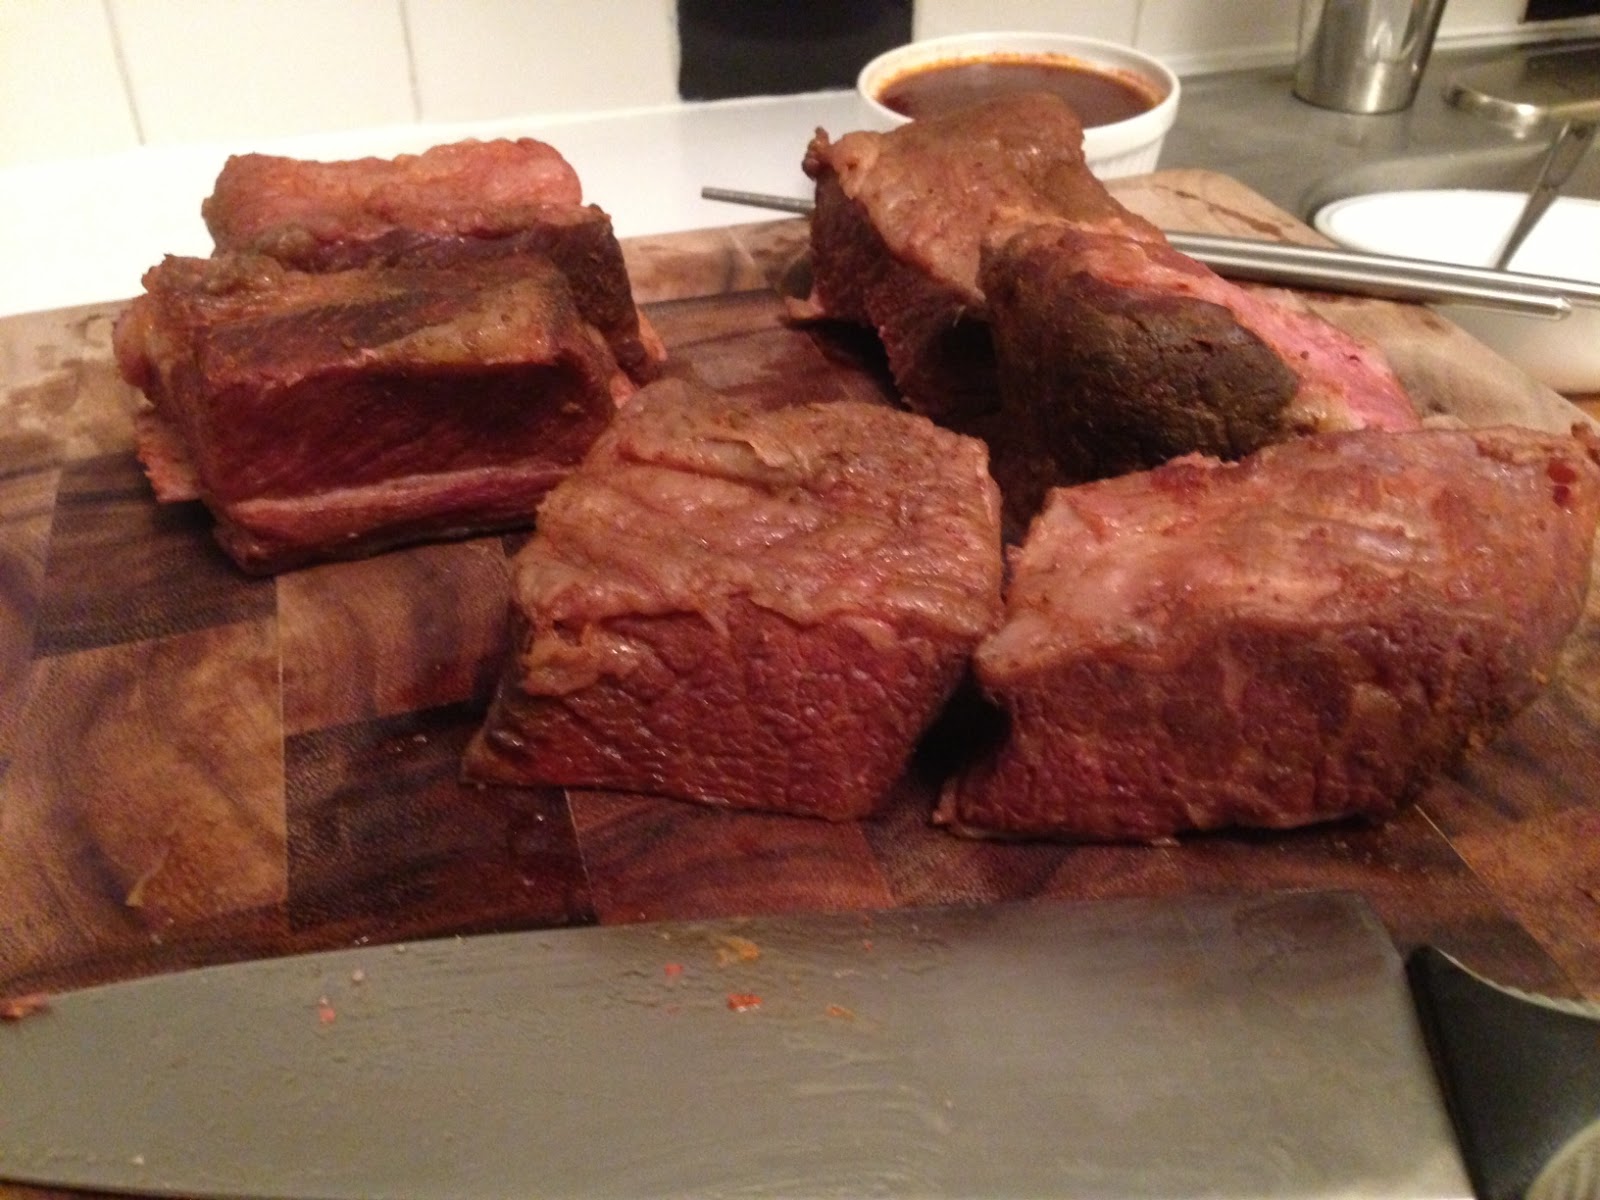
Tonight I made some bomb ass Mexican-inspired braised short ribs, and it couldn't have been simpler. Usually most recipes for braises require you to sear the meat over the stove before simmering on the stove or roasting in the oven, but I avoided that mess altogether and the results were still outstanding - the secret is using minimal liquid and moderate temperature for sufficient time in the oven. Three hours at 325 degrees F gets the meat fork tender and also triggers the Maillard reaction on the meat, giving you that dark brown coloring you're looking for.

Here's the recipe:
  • .5 cup cider vinegar
  • 1 bottle of beer (I used Harpoon IPA)
  • 2 oz dried ancho chiles (stemmed, seeds removed, and soaked a little warm water)
  • Half head of garlic smashed
  • 2 teaspoons salt
  • 2 teaspoons dried oregano
  • 2 teaspoons cumin
  • .5 teaspoon cinnamon
  • .5 teaspoon clove
  • .5 teaspoon black pepper
  • 2 bay leaves
  • one medium-sized spoonful of tomato paste
  • 1 large onion (sliced in half inch slices)
  • 1 pack of beef short ribs (I got mine for BJ's)
  • Cabbage, red onion and carrot slaw - get the recipe here

Add all of the ingredients, except for the onion and short ribs, in a large Dutch oven pot and mix to combine.


Layer the slices of onion on the bottom of the pot.


Place the short ribs on top of the onions.


Cover the pot, and cook in a 325 degree F oven for 3 hours.

 
When they come out of the oven, the short ribs will look like this - nicely browned.
 

Remove the short ribs to a plate, and then finish the sauce. Skim off any fat that pools at the surface and discard the bay leaves. Place all of the pot contents into a blender - I used my trusty Vitamix - and blend until smooth.


Meanwhile, use two forks to shred the short ribs, and add the shredded meat back to your Dutch oven.


Dump the blended sauce back into the pot and combine with the meat. Heat gently to warm.


Finally, build your tacos! Take a heated, softened corn tortilla, add some of the delicious short rib meat, and top with the veggie slaw, chopped cilantro, and crumbled Cotjia cheese. Enjoy!

24 Hour Sous Vide Short Ribs

It's been a while but I'm back finally! Life has been crazy lately between managing projects for work, shopping and buying a new home, and preparing for a baby on the way!

So a while back I had posted about short ribs that I sous vided for 48 hours. Those were ultra-slow cooked at a low temperature to achieve "medium-rare" short ribs, something that cannot be achieved through traditional cooking methods. The short ribs turned out great but the downside is that they took a long time to achieve the end result.

I recently tried sous viding short ribs again but this time at a higher temperature, closer to what you would find in a traditional braise on the cook top or in the oven but still using more gentle heat - 165 degrees F for 24 hours in my Sous Vide Supreme. The short ribs ended up losing the medium-rare, pinkish/red color obviously, but the meat was still phenomenal - and perhaps more enjoyable than at the lower temp. Cutting down the cook time by half was nice as well. The higher heat rendered more of the fat but the meat was still moist and meltingly tender. The texture reminded me very much of that of a smoked short rib I had at my local BBQ joint recently.

The taste was great as well - I went for a more traditional French Burgundy style flavor profile, using some of my own twists of course. This included some soy sauce, oyster sauce, granulated garlic, granulated onion, salt, pepper, worcestershire sauce, dried thyme, and bay leaf. I debated adding some red wine but left it out, figuring I could add it to the sauce at the end if I desired. In the end, I left it out entirely and didn't make any difference in terms of flavor in my opinion. I highly recommend this method!


Sous Vide Short Rib Hamburger

I've cooked a number of things sous vide so far but haven't done hamburgers, so my wife and I decided to give it a try this past weekend. In Modernist Cuisine, there are a few recommendations for hamburger mixes. MC's favorite is a combination of short rib, aged rib eye, and flank, but since we were planning to grind the meat at home ourselves and were also only cooking for the two of us, we decided to go with one of the other "best bets" listed - 100% short rib.

After picking up some short rib meat and groceries from BJ's, we returned home and started preparing dinner. Using our small meat grinder at home, we ground the meat through a medium die and then gently formed some patties. MC does not recommend seasoning the meat with salt or other types of ground spices since they apparently act like meat glue that will actually make the meat tough.

After forming the patties and sealing them in zip loc bags (recommended over an edge or vacuum sealer because of the absence of pressure that will compress the patties), into the Sous Vide Supreme they went for about 45 mins at 130 degrees.


After coming out of the bath, the patties were dried off, seasoned with salt and pepper (remember that they were not seasoned previously) and then seared quickly in a hot pan. Be careful when handling the patties as they are pretty delicate - we loosely packed them, weary of them eventually becoming tough after cooking.


As the burgers were sous viding, I also cooked up some caramelized onions. I finely sliced up some white onions and slowly cooked them in a pan for about 30 minutes until they were deeply brown and caramelized. Be careful not to burn them! Once they were done, I reserved some onions to use as a topping for the burgers and then blended up the rest with some greek yogurt, salt, and pepper in my Vitamix to make an onion soubise to use as a dip with some pita chips. The dip was pretty awesome and something I definitely recommend.

So with all the items prepped and cooked, the final step was assembly. On top of the toasted bread buns, we placed the burger, some caramelized onions, slices of gouda cheese, arugula, and some chicken liver spread we had leftover sitting in the fridge.


So was the sous vide burger worth the effort? I would actually say no. While it was certainly tasty and a solid burger, made particularly gourmet with a number of condiments and toppings I made, the burger meat itself wasn't anything that I was blown away by. The meat was perfectly cooked but lacked a real beefiness that I was hoping for. Perhaps I was to blame for going lighter than required on the seasoning or perhaps it was the hamburger mix itself. But as far as cooking the meat, I think I could have achieved a similar result with just searing the patties in a hot pan, which would have been much quicker.

48 Hour Sous Vide Short Ribs

After reading a lot of positive reviews across the internet (chat boards, recipe sites, blogs) about sous viding short ribs, I wanted to try my own hand at making them. I saw a good looking pack of short ribs while I was shopping for my beef chuck roast at BJ's and decided to pick it up as well. Since my wife and I decided to go French with our chuck roast pairing it with a classic béarnaise sauce, we went in a different direction for the short ribs, opting for Korean flavor profiles.

For the short ribs, we threw together a quick marinade using soy sauce, granulated garlic, granulated onion, mirin, and gochujang - a savory and pungent fermented Korean condiment made from red chili, glutinous rice, fermented soybeans and salt. I slathered the marinade all over the short ribs and then placed them in a large zip loc bag before removing as much air as possible from the bag using the water displacement method. I then dropped the sealed zip loc bag into my Sous Vide Supreme along with the beef chuck roast I was also making for the following the day.


After browsing different websites and blogs, there were different time lengths and temperatures that were recommended for cooking short ribs sous vide, ranging from 133 degrees to 140 degrees for temperature and 48 hours to as many as 72 hours for time. I tend to have less patience than most so I opted for 48 hours since this seemed to be the minimum amount of time everyone had recommended. As for temperature, I had some reservations with cooking at 133 degrees since it would be for such a prolonged period of time (which I've never done before), but Michael Ruhlman, a noted chef and author, was the one who had suggested this temperature, so I figured it'd be okay. Plus, I was cooking the chuck roast at the same time and I wanted it to be medium rare. So the decision was made - I set my Sous Vide Supreme to 133 degrees and let it go for 48 hours.

48 hours later on Sunday night, I finally opened up the short ribs. As I pressed on them through the bag, the short ribs were definitely tender but had some resistance - they weren't so tender that they completely disintegrated.


I dried off any excess marinade from the exterior of the short ribs and also used my knife to trim off any large pieces of fat and tendon. I also removed the meat from the rib bones, making sure to also remove the thin layer of tough membrane that sits between the meat and the bone. When doing a traditional braise on short ribs, this layer becomes soft enough to eat but I noticed that when sous viding, it remained pretty tough and leathery.


I then heated up some canola oil in a sauté pan until the oil was shimmering with a small whisp of smoke coming off the surface. I did a quick sear on these until the exterior was deeply caramelized. The sugars from the marinade really helped this process along.


After quickly resting the short ribs, I sliced the short ribs in half for presentation and plating. You can see just how beautiful the interior of the meat is - medium rare from edge to edge. This typically is not possible with traditional cooking methods like braising since the cooking temperatures required to break down and soften the collagen and connective tissues are much higher than medium-rare temps. However, with sous vide cooking, the ultimate "low and slow" process allows the collagen to soften while the meat remains medium rare.


In the same pan that I used to sear the short ribs, I poured in the liquids left over in the zip loc bag and then reduced this down by half and used this as the sauce. I turned off the heat and added in some finely chopped scallions. Since the original marinade had lots of soy sauce, no additional seasoning or salt was necessary.


Earlier in the day, we were doing some holiday shopping near the Burlington Mall and stopped by H Mart to pick up some kimchi and carrots and cucumbers to make a quick pickled vegetable side dish. We served these as condiments with the sous vide short ribs. Absolutely delicious.

Modernist Foodie Copyright © 2013